Are you struggling with capturing top-notch audio in your video projects? You’re not alone. Sound quality plays a pivotal role in successful videography, yet many find this aspect daunting.
This article is packed with proven techniques and tips to help you improve the sound quality of your videos and transform your approach to audio recording for videography. Ready to elevate your video production game? Let’s dive in!
Key Takeaways
- Choosing the right microphone is essential for improving sound quality in videography.
- Setting up your audio recorder properly and adjusting audio levels can greatly enhance the clarity of your recordings.
- Utilizing headphone monitoring, recording separate audio tracks, and utilizing microphone techniques will help you achieve high-quality audio in videography.
Steps to Prepare Audio for Video Recording

Choose the right microphone, set up your audio recorder, test and adjust audio levels, record the audio, and edit and export the final recording.
Choose the right microphone
Selecting the right microphone will greatly enhance the quality of your audio in video projects. Various types of microphones are available, each with a unique set of features and suited for different situations.
Condenser microphones excel at capturing vocals due to their sensitivity and wide frequency response, making them ideal for interviews or voiceovers. Dynamic microphones typically have less audio clarity but are more rugged than condensers and handle high sound pressure levels well, such as loud music performances.
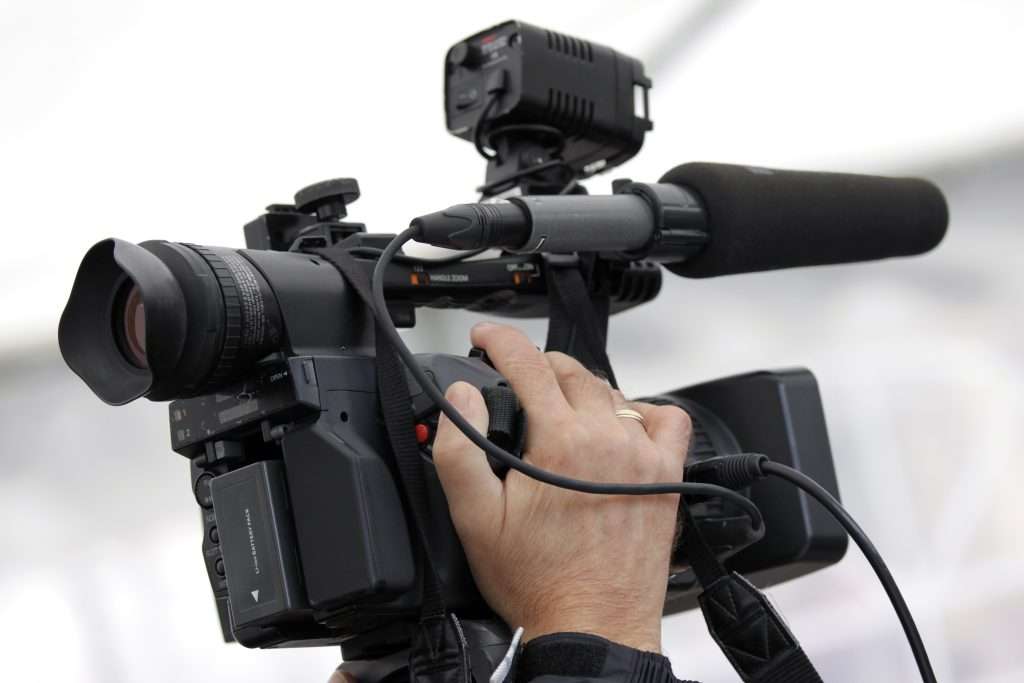
For videography, lavalier mics can be clipped onto clothing for hands-free operation while shotgun mics capture clear audio in outdoor settings by focusing on sounds from one particular direction and reducing ambient noise.
Make sure to research each type before purchasing or renting to ensure it fits your specific requirements.
Set up your audio recorder
Setting up your audio recorder properly is crucial for capturing high-quality sound. Begin by connecting the microphone to the audio recorder, ensuring all cables are securely fastened and free from damage.
Many modern recorders come with a display screen where you can observe and control various settings like volume levels, recording format, and battery life.
Next comes calibration; adjust the input levels according to your recording environment. You aim to find a sweet spot where you capture clear voices or sounds without any distortion.
Always do a quick test recording before starting the main recording session. This helps identify any potential issues early on while giving an opportunity for tweaking settings if needed.
Make sure that your equipment has sufficient battery life throughout the recording process, as low power may affect performance or cause unexpected shut-downs in mid-session.
Test and adjust audio levels
Timing is crucial when testing audio levels. Keep a close eye on your audio meter while the scene is getting prepared. If the meter indicates that your sound levels are too high, resulting in distortion or “clipping”, it’s essential to lower the input volume on your recording device.
Simultaneously, if your audio levels are looking rather low – barely making an impact on your audio meter, then increase the input volume accordingly until they reach an optimal level.
A well-adjusted and balanced sound can improve overall video quality significantly.
Understanding how decibels (dB) work will also help you set correct audio levels: aim for around -12 dB for dialogue; loud sounds like car horns or sirens should max out at -3dB before causing distortion, while quiet moments may drop down to around -30dB or so without disappearing completely into background noise.
If there’s more than one source of sound (like multiple people talking), you would also want to balance their volumes against each other using either manual controls on a mixer or software adjustments later during editing process – so no voice gets drowned out by others.
Finally, bear in mind aiming for perfection could be counterproductive because changing environments could require further adjustments anyway- just focus more on avoiding extreme ends of spectrum: total silence versus deafening loudness!
Record audio
Record audio is a crucial step in videography to ensure high-quality sound production. To capture clear and professional audio, it’s important to select the right microphone based on your specific needs.
Set up your audio recorder properly and test the levels before recording. When everything is set, start recording by pressing the record button on your device or software. Remember to use headphones for monitoring during the recording process to catch any issues with sound quality immediately.
With these steps, you’ll be able to capture excellent audio for your video projects.
Edit and export audio
Edit and export audio is a crucial step in the video production process. Once you have recorded your audio, it’s important to go through the editing process to ensure that the sound quality is clear and consistent.
This includes removing any background noise or unwanted sounds, adjusting the volume levels for different parts of your video, and adding any necessary effects or enhancements. After editing, you’ll need to export your audio in a format that is suitable for your specific needs, whether it’s for online streaming, DVD authoring, or other purposes.
Taking the time to properly edit and export your audio will greatly enhance the overall quality of your video project.
Tips for Achieving High-Quality Audio in Videography

Choose a suitable recording environment, use headphones for monitoring, record separate audio tracks, and utilize microphone techniques.
Choose a suitable recording environment
Creating a suitable recording environment is essential for capturing high-quality audio in videography. Find a quiet space where you can minimize background noise and distractions.
Avoid areas with echo or reverberation, such as empty rooms or spaces with hard surfaces. Use soundproofing materials like blankets, foam panels, or rugs to absorb unwanted noise. Consider using a windscreen or pop filter to reduce plosive sounds and interference caused by air currents.
By selecting the right recording environment, you can ensure clear and professional-sounding audio for your video recordings.
Use headphones for monitoring
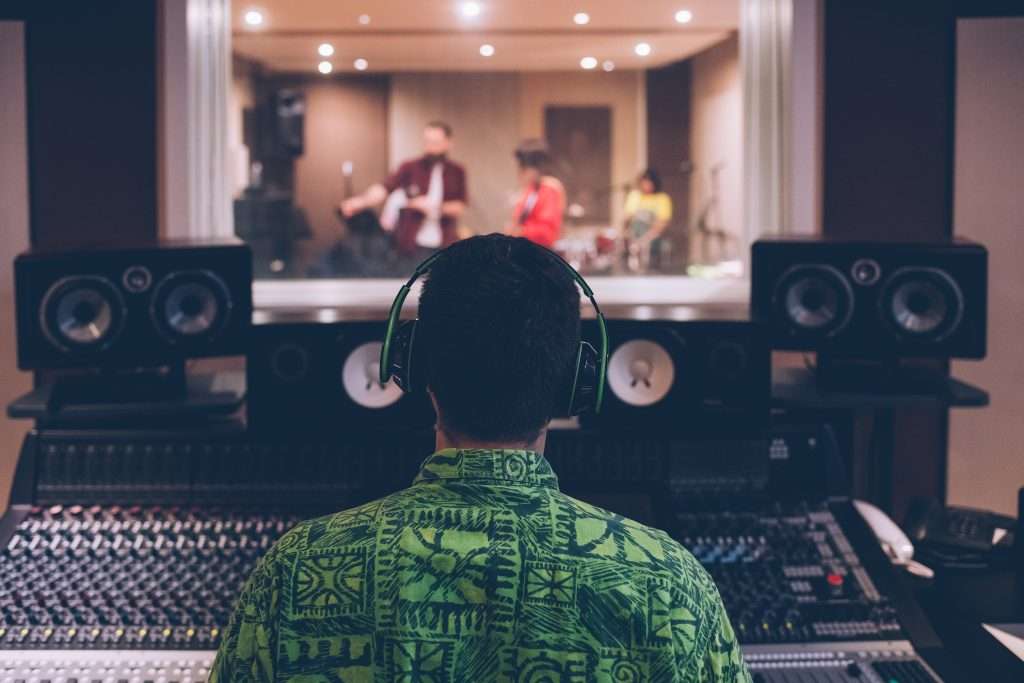
Using headphones for monitoring is an essential practice in audio recording for videography. By wearing headphones, you can hear the sound being recorded in real-time and make necessary adjustments to ensure optimal audio quality.
This allows you to catch any issues or unwanted background noise that may affect the overall production value of your video. Headphones also help you monitor audio levels, ensuring they are balanced and consistent throughout the recording process.
Whether you’re capturing dialogue, ambient sounds, or music, using headphones for monitoring is a crucial step towards achieving high-quality audio in your videography projects.
Record separate audio tracks
Recording separate audio tracks is a crucial technique in videography that can greatly enhance the overall sound quality of your videos. By recording each audio source on its own track, you have more control during the editing process to adjust and balance the levels of different elements such as dialogue, background music, and ambient sounds.
This allows for clearer and more distinct audio, making your videos sound professional and polished. Whether you’re using multiple microphones or capturing different audio sources separately, recording separate audio tracks gives you flexibility and ensures a better final product.
Utilize microphone techniques
To capture high-quality audio in your videography, it’s important to utilize microphone techniques effectively. Positioning the microphone correctly is crucial for optimal sound recording.
For example, when using a lavalier or lapel microphone, attach it close to the speaker’s mouth for clear and direct sound. On the other hand, when using a boom microphone, make sure to position it just out of frame but close enough to capture the dialogue accurately.
Experiment with different placements and angles to find the best positioning for each shot. Additionally, use windshields or pop filters to reduce unwanted noise caused by breaths and plosives.
Advanced Techniques for Audio Recording in Video Production
Learn how to sync audio in post-production, mix and add effects, and utilize external audio recorders for professional-quality sound in your video production. Don’t miss out on these essential tips for taking your audio recording skills to the next level!
Syncing audio in post-production
Syncing audio in post-production is a crucial step to ensure that your audio matches perfectly with the visuals of your video. To sync audio, you can use software programs like Adobe Premiere Pro or Final Cut Pro.
Simply import your video and audio files into the software, select both files, and click on the “sync” or “merge” option. The program will automatically align the audio track with the video track based on their timestamps.
This helps eliminate any delays or discrepancies between what you see and hear in your final product. Remember to always double-check and fine-tune the synchronization for seamless integration between sound and image in your videos.
Mixing and adding effects
To take your audio recordings to the next level, it’s important to master the art of mixing and adding effects. Mixing involves adjusting the levels of different audio tracks and blending them together for a cohesive sound.
This includes balancing the volume, panning, and EQ settings. Adding effects allows you to enhance your recordings with creative choices like reverb or distortion. By experimenting with these techniques, you can create a professional-sounding soundtrack that enhances your video content.
Don’t be afraid to try different combinations and trust your ears to find what works best for each project.
Utilizing external audio recorders
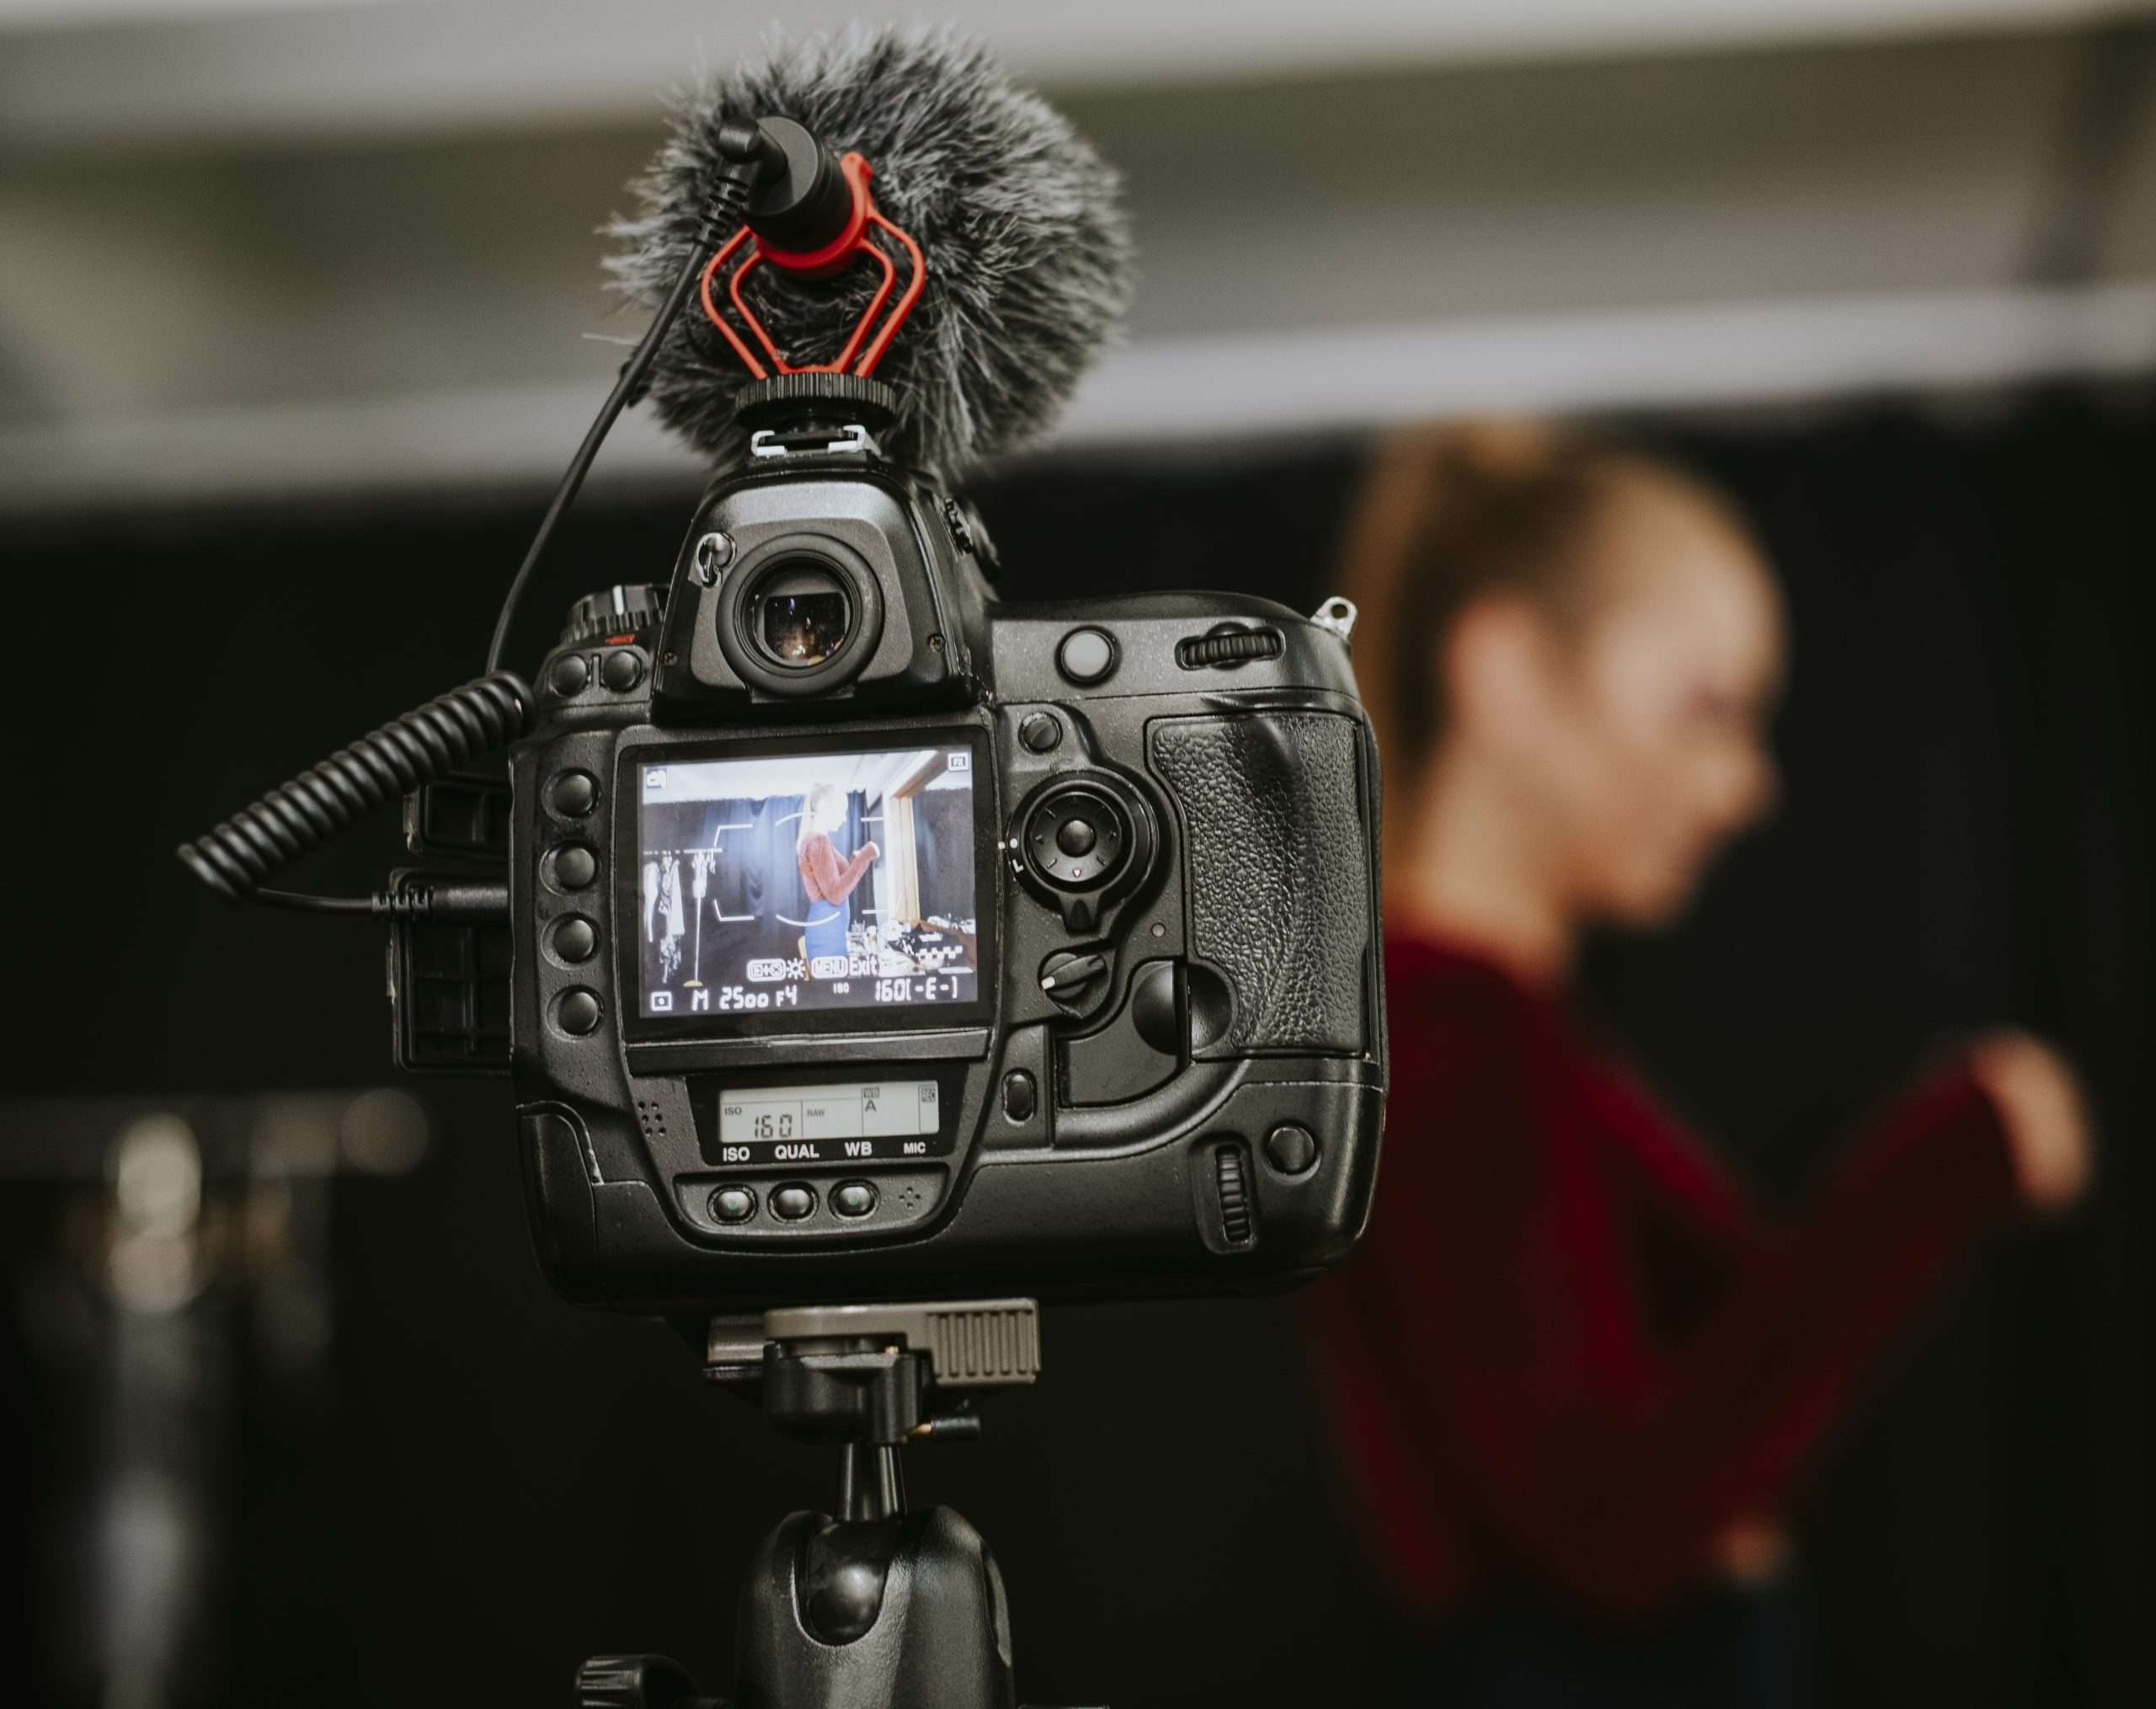
External audio recorders are a valuable tool for capturing high-quality sound in videography. These devices offer increased control and flexibility compared to built-in camera microphones.
By connecting an external recorder to your camera or using it separately, you can capture crisp, professional-grade audio that complements your video footage. External recorders also often have additional features such as adjustable gain settings and better preamp quality, allowing you to fine-tune the audio levels and reduce unwanted background noise.
With the ability to capture clear and balanced sound, utilizing external audio recorders is essential for achieving excellent audio quality in your videos.
Additional Considerations and Tools for Audio Recording in Videography
Utilize phone recording and attachment options for convenient audio recording on-the-go. Consider using airplane mode to avoid interruptions from message alerts during recording sessions.
Implement best practices for recording interviews, such as finding a quiet location, using lavalier or boom microphones, and ensuring clear communication between the interviewer and interviewee.
Take advantage of resources and guides available for documentary filmmaking to enhance your audio recording skills in videography.
Using phone recording and attachment options
Using your phone for audio recording in videography can be a convenient and effective option. Here are some ways you can maximize the potential of your phone’s recording capabilities:
- Utilize smartphone recording apps that offer features such as adjustable audio levels, file formats, and monitoring options.
- Attach external microphones specifically designed for smartphones to enhance the quality of your recordings.
- Consider using additional attachments like stabilizers or tripods to minimize handling noise and ensure stable recordings.
- Experiment with different microphone placement techniques to find the best positioning for capturing clear and balanced audio.
- Activate airplane mode on your phone to prevent incoming calls or message alerts from interrupting your recording sessions.
Best practices for recording interviews
To achieve optimal audio quality when recording interviews for videography, follow these best practices:
- Position the microphone close to the subject’s mouth to ensure clear and direct sound capture.
- Use a directional microphone to minimize background noise and focus on the interviewee’s voice.
- Test audio levels before starting the interview to avoid distortions or low volume issues.
- Monitor the audio levels throughout the interview using headphones to make adjustments if needed.
- Keep a backup recording device ready in case of technical issues with the primary recorder.
- Avoid interruptions by silencing phones and other devices before beginning the interview.
- Conduct a soundcheck with the interviewee beforehand to ensure they are comfortable speaking into the microphone.
Utilizing resources and guides for documentary filmmaking
Documentary filmmaking can be a complex and challenging process, but there are resources and guides available to help you along the way. Whether you’re a beginner or an experienced filmmaker, these resources provide valuable tips, techniques, and inspiration for creating compelling documentaries.
Online platforms such as documentary-focused websites, forums, and social media groups offer a wealth of information from industry professionals and fellow filmmakers. Additionally, books, workshops, and online courses provide in-depth knowledge on various aspects of documentary production.
By utilizing these resources and guides, you can enhance your skills, gain new perspectives, and create impactful documentaries that resonate with your audience.
Conclusion
In conclusion, mastering audio recording techniques is essential for producing high-quality videos. By choosing the right microphone, setting up audio equipment properly, and adjusting levels accordingly, you can ensure clear and professional sound.
Utilizing techniques such as recording in a suitable environment, monitoring with headphones, and capturing separate audio tracks will further enhance the overall quality. Additionally, advanced techniques like syncing in post-production and adding effects can take your videos to the next level.
Finally, utilizing tools such as external audio recorders and following best practices for interviews will help you achieve even better results. So go ahead and apply these tips to your videography projects to create impressive videos with exceptional sound quality.
How Can I Incorporate Audio Recording Techniques into My Videography Composition and Framing?
When exploring composition and framing techniques in videography, incorporating audio recording techniques can greatly enhance your final product. By carefully selecting microphones, ensuring proper placement, and capturing high-quality sound, you can create a cohesive and engaging audiovisual experience. Whether it’s using lapel mics for interviews or boom mics for ambient sound, paying attention to audio will elevate your videography composition and framing.
What Should I Look for in a Wedding Videographer in Terms of Audio Recording Skills?
When searching for a wedding videographer, consider their audio recording skills. Clear and high-quality audio is crucial for capturing precious moments and preserving memories. Look for a videographer who uses professional-grade microphones and has experience in handling audio equipment. Checking their portfolio and client reviews can provide insights into their audio recording capabilities. Following these tips for hiring the best wedding videographer will ensure your special day is beautifully documented.
Can Sound Design Techniques be Applied to Audio Recording in Videography?
When it comes to audio recording in videography, implementing sound design techniques for videos can significantly enhance the overall production quality. By applying techniques such as equalization, noise reduction, and spatial panning, the audio elements can be properly balanced, resulting in a more immersive and professional viewing experience. Utilizing sound design techniques for videos ensures that the audio complements the visuals seamlessly, creating a captivating audiovisual narrative.
FAQs
1. What are some essential audio recording tips for videography?
Some essential audio recording tips for videography include using a high-quality microphone, minimizing background noise, monitoring levels to avoid distortion, and positioning the microphone close to the subject.
2. How can I minimize background noise during audio recording?
To minimize background noise during audio recording, you can choose a quiet location, use soundproofing materials if needed, and consider using a directional microphone that focuses on capturing the desired sounds while rejecting unwanted noise.
3. Why is it important to monitor audio levels during recording?
Monitoring audio levels during recording is important because it allows you to ensure that the sound is not too soft or too loud. By keeping an eye on the levels, you can adjust as necessary and prevent issues like distortion or inaudible dialogue.
4. Where should I position the microphone for optimal sound quality?
For optimal sound quality, position the microphone as close to the subject as possible without interfering with their performance or causing unwanted noise. Experiment with different positions and angles to find what works best for your specific setup.
5. Can I use my camera’s built-in microphone for professional-quality recordings?
While built-in microphones on cameras can capture basic ambient sound, they are generally not sufficient for professional-quality recordings. Investing in an external microphone will greatly improve your overall audio quality and allow more control over your recordings.


